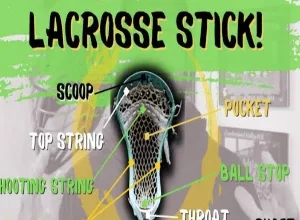

How to string a lacrosse head:
If you are looking for how to string a lacrosse head step by step then this article will help you.
Show off your stringing skills to your lacrosse team! You can avoid paying an expert to string your lacrosse stick by learning how to do it yourself. Knowing this technique is also handy if you need to rest your stick during a game. Beginning at the top of the head, restring the stick first, then the side, and finally the bottom.
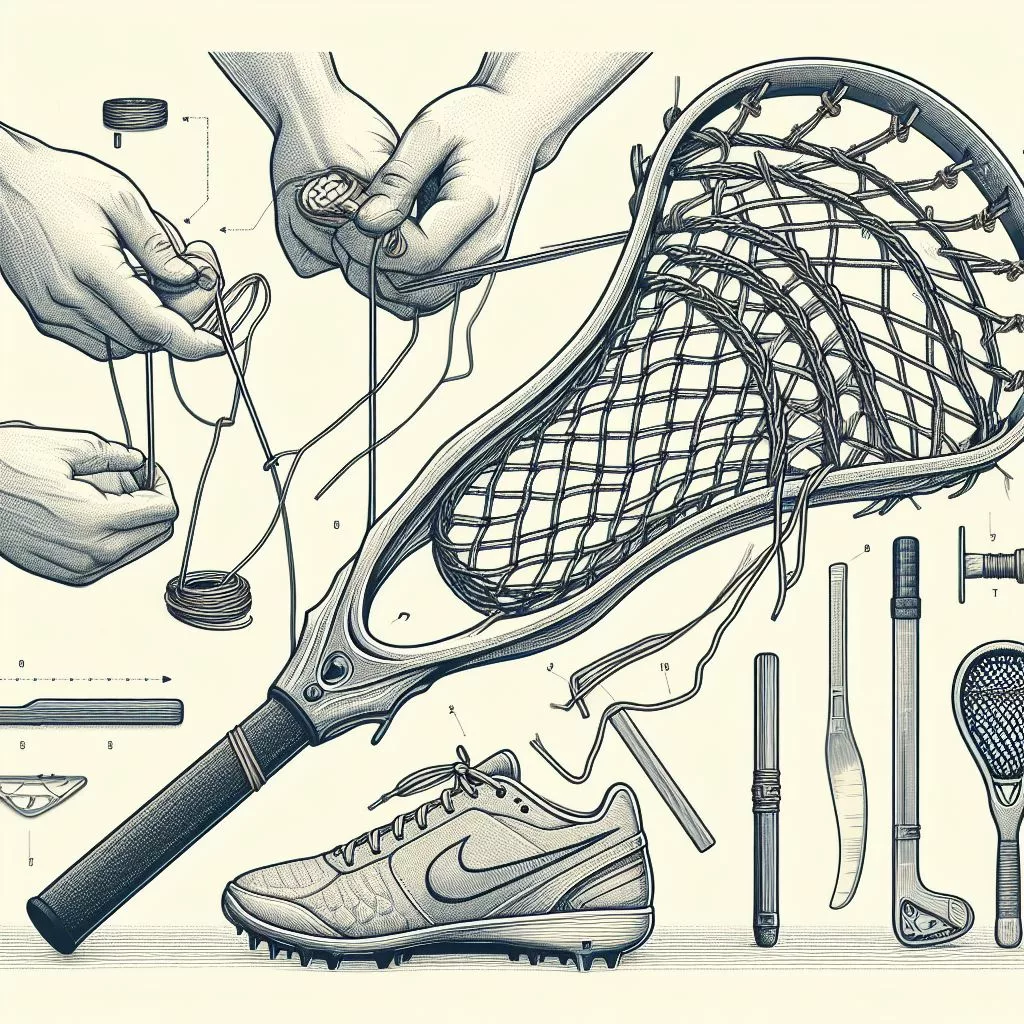
Organizing the materials:
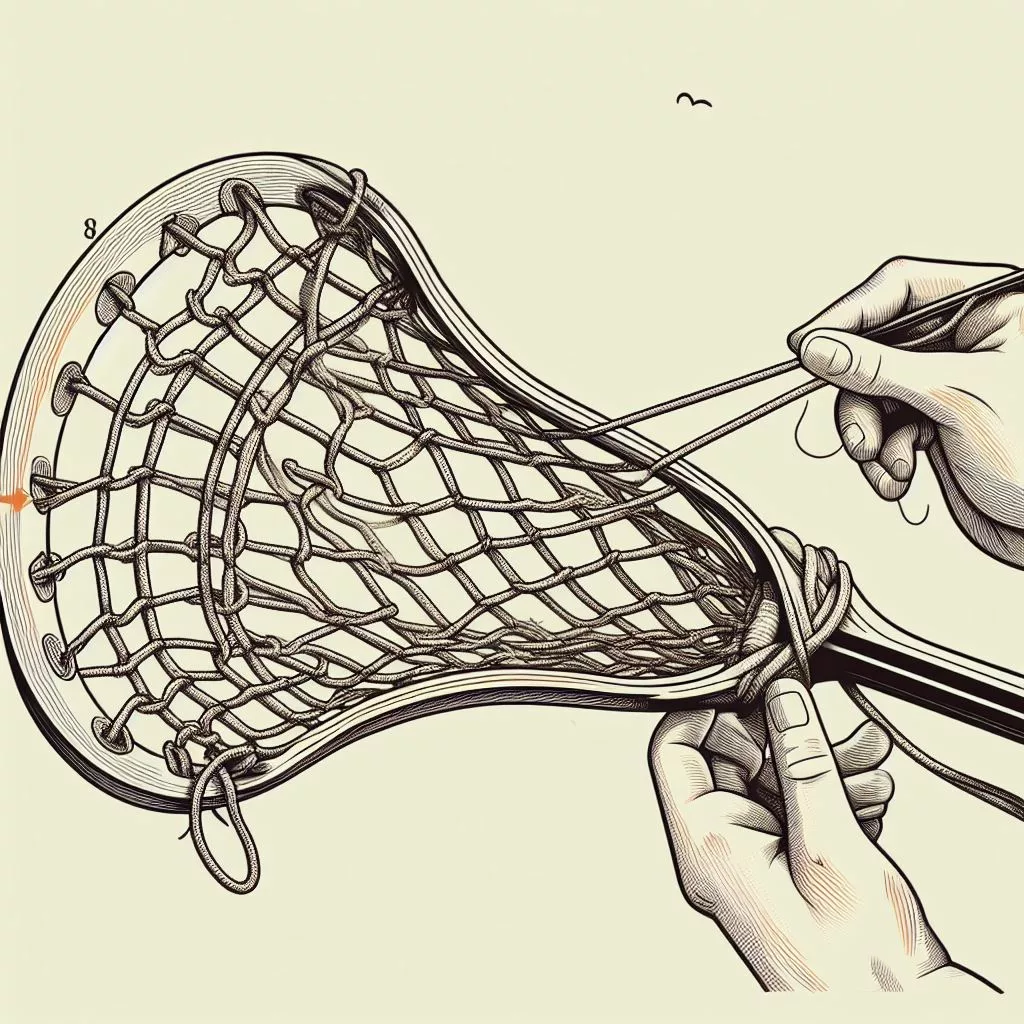
Stretch the mesh:
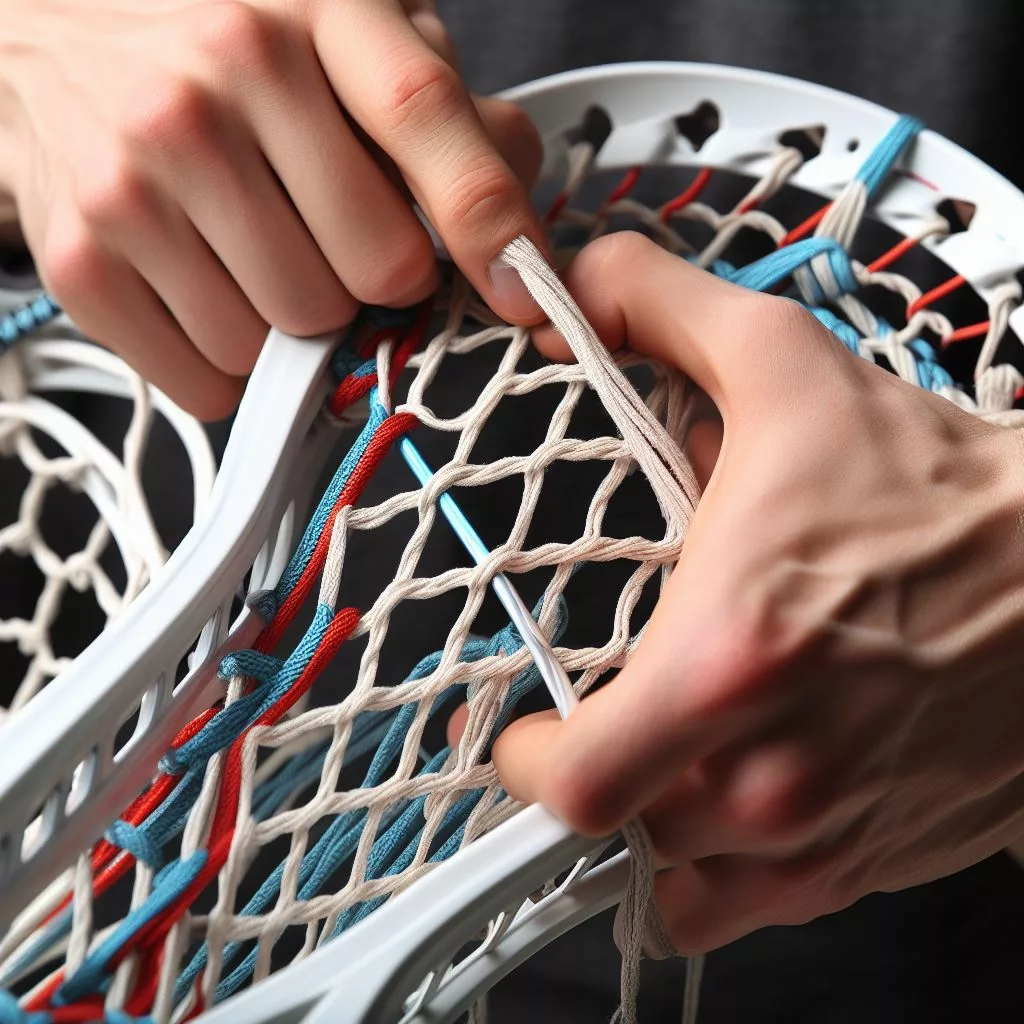
Put a hand on each of the mesh's ends. To stretch the mesh, grab it and then separate your hands. Once all of the mesh has been properly stretched, turn your hands around it.
The mesh must be stretched for a minimum of thirty seconds.
Get one lacrosse mesh piece from a sporting goods retailer. The cost of mesh varies based on the brand you purchase. Purchase mesh that matches the brand of your stick for optimal outcomes.
Fold over the top row of mesh:
Fold the mesh's top row over the second row while holding it in place. To ensure that you have holes big enough to thread a string through, place the strings exactly on top of the strings on the second row.
Fold over the top two rows of mesh if there is damage to the top row.
Knot one end of each piece of string:
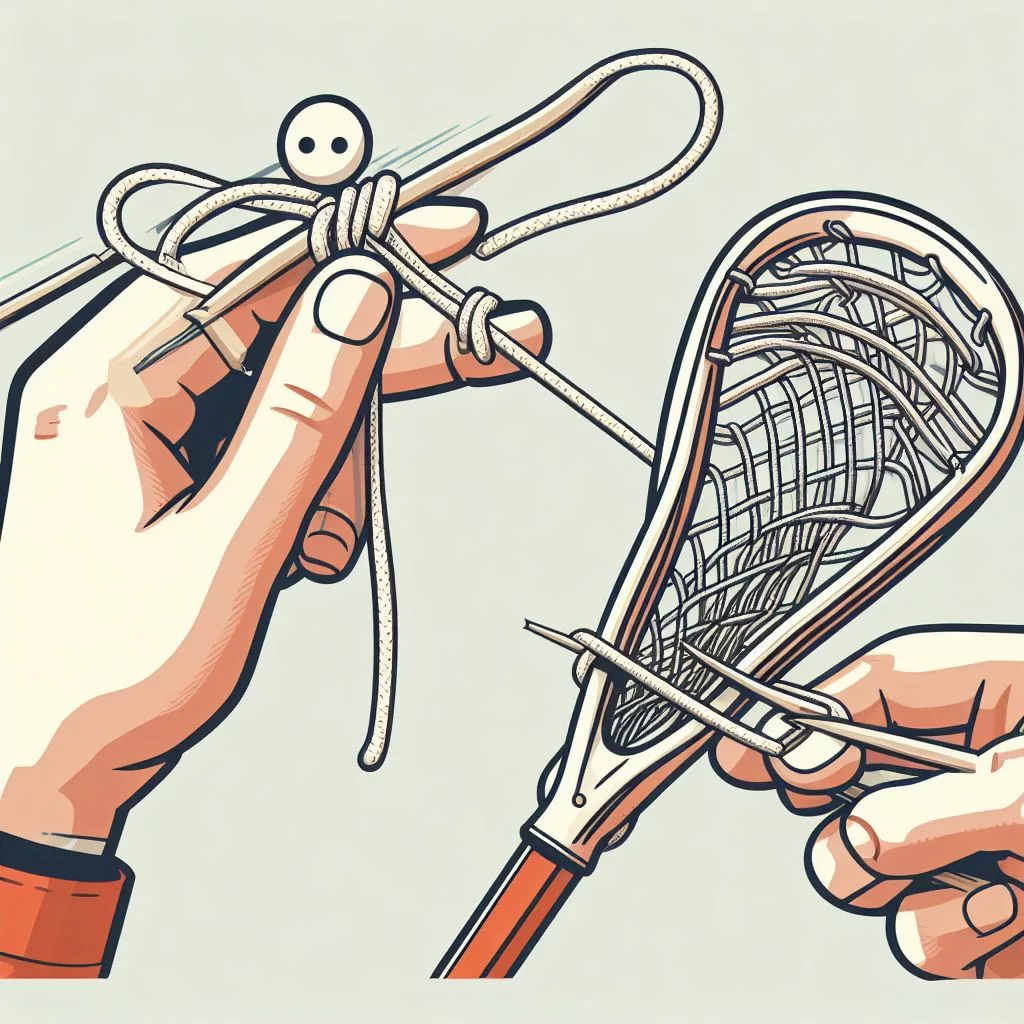
As near the end of the string as you can, pick up one end and tie a double knot. Because it will maintain the rest of the strings' stiffness, this knot is crucial.
On every string, repeat this.
Similar to the knot you use to tie your shoes, a double knot is simply the same knot you tie twice over. If you'd like, you can use another sturdy knot.
Harden the tips of the string using the lighter:
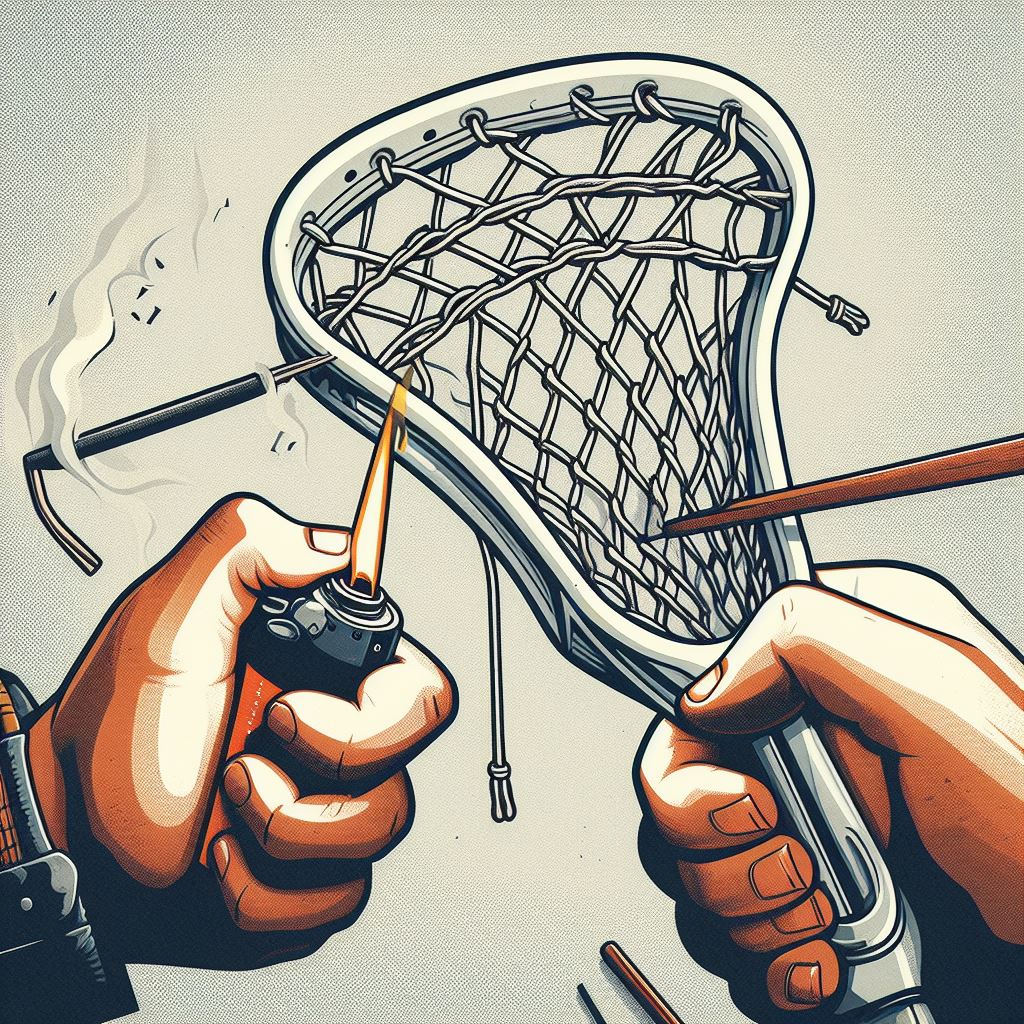
Locate the end of the thread that is opposite the knot and grasp it with your non-dominant hand. Lightly burn off the string's fringe with a lighter. Lick your finger and then use your fingers to press down on the tip of the string while it's still hot. As a result, the tip becomes sharper and simpler to push through the tiny holes.
The lighter should only be held over the string for a brief period.
To avoid getting burned, give the string a few seconds before touching it.
For each piece of string you plan to use, repeat these steps.
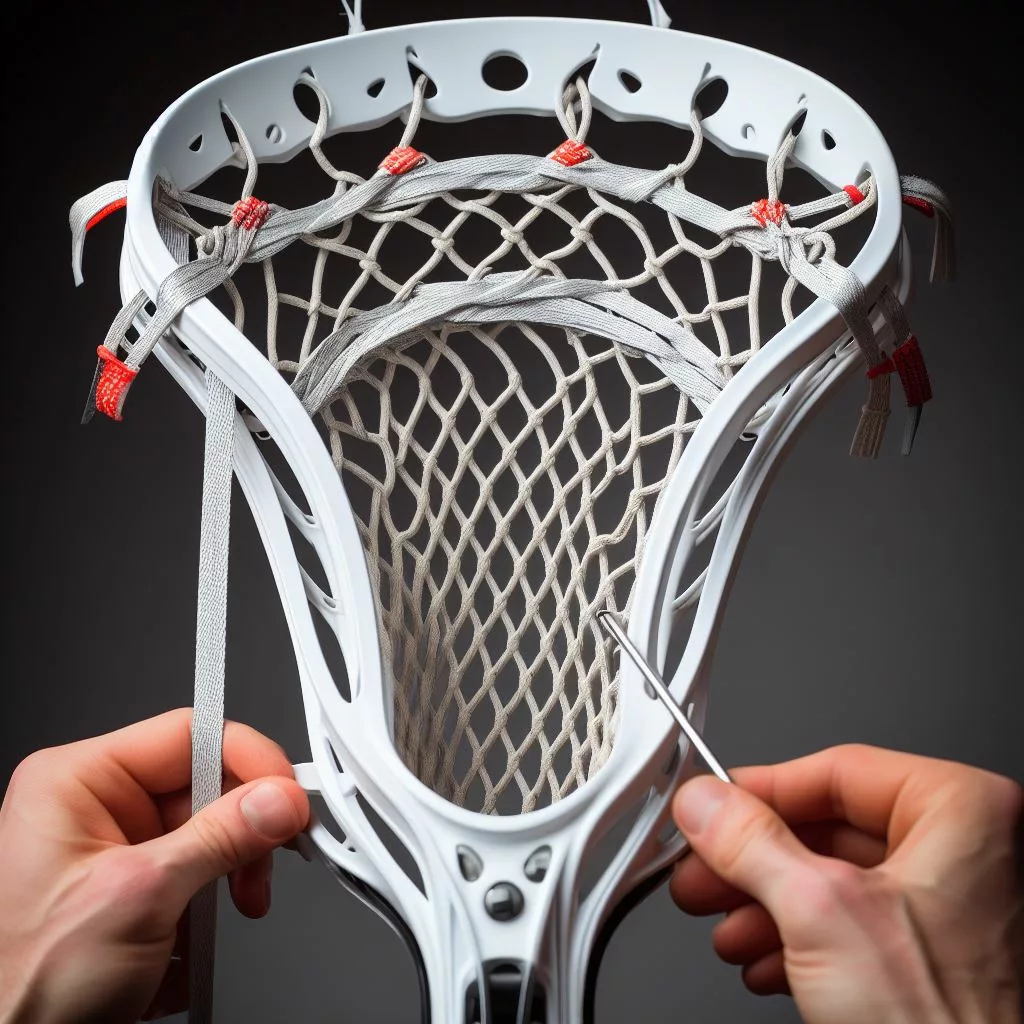
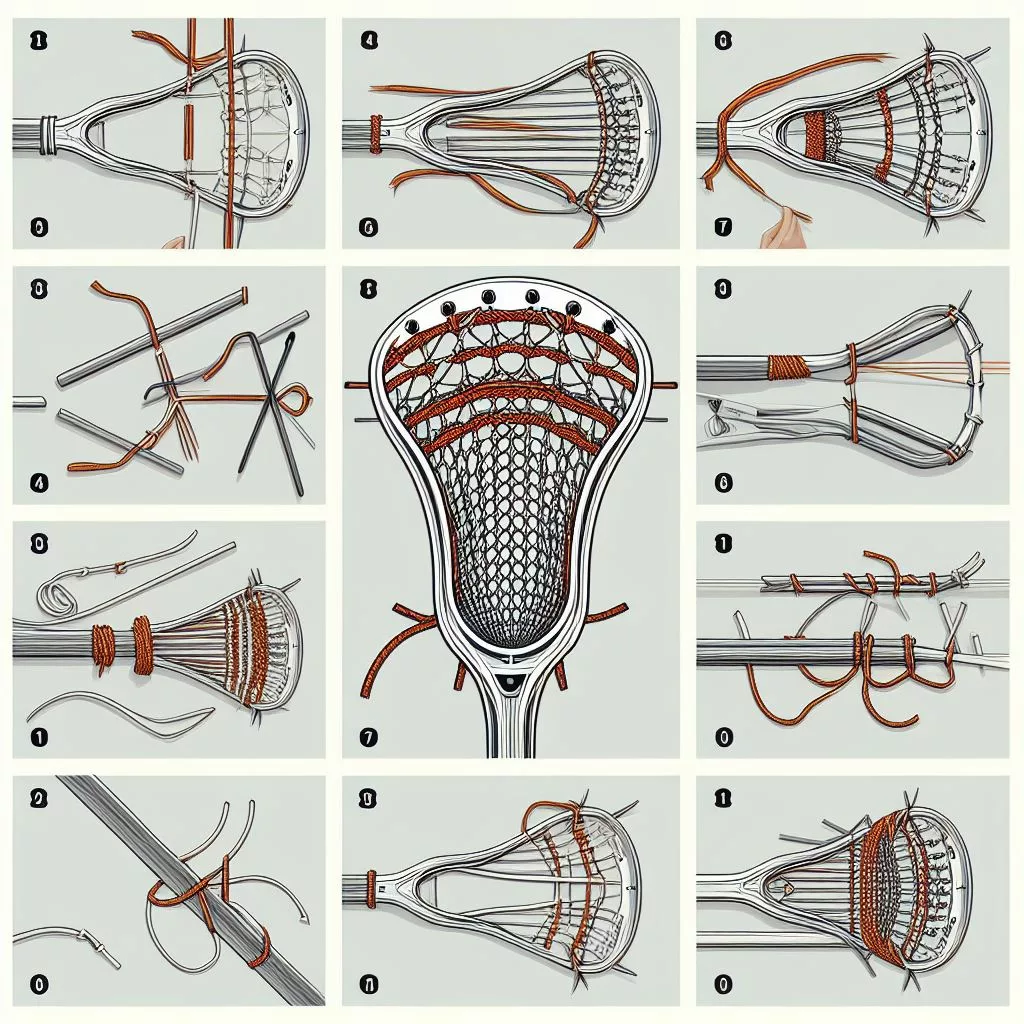
Threading a top string:
Thread the string through the second hole down on the left of the screen:
As you hold your stick, make sure the holes face your direction. Insert the burned end of the upper string, facing left, into the second hole.
Till the knot prevents you from pulling any farther, draw the thread all the way through.
Pull the string up through the bottom of the mesh and back into the hole:
Pull the thread through the mesh opening beneath the hole you just passed through to bring it back towards you. After pulling the string, loop it back into the upper hole. Till the knot is securely positioned against the head, pull the string.
When tying each knot, try to pull the rope to a constant tightness. When you play, this will increase the stick's effectiveness.
Go through the first hole on the left and into the mesh hole below:
Pull the thread back towards you through the mesh hole below after pushing it through the top left hole. As you tighten the knot, pull the string to the right. This will tighten the knot and move it to the required location.
Thread through the next mesh hole and up through the same head hole:
You will make a loop as you thread the rope through the mesh hole. Thread the string through the next headhole in your direction and pull it through the loop.
Once you are satisfied with the knot's placement, pull the string tightly.
Pull the fourth mesh hole across to the third hole from the left:
Expand the mesh in the direction of the stick's right side. Pull the fourth mesh hole until it rests exactly beneath the stick's third hole at the top. It will be simpler for you to string the remaining stitches in the top row in this location.[/3]
Go through the hole in the head and back through the mesh hole:
To finish the second knot, proceed in the same manner as you did with the first hole. Tie knots in each of the top heads every other hole. Once you get to the right side of the head, keep knotting the same way.
To guarantee a firm stringing, keep pulling the string tightly.
Orient the strings so that the middle of the head contains the fifth diamond.
Go through the top side wall hole and back through the top hole:
Pull the rope through the top sidewall hole and the last mesh opening. After creating the loop with your piece of string, take the top string and pass it back through the top hole.
Tighten the string and tie the knot as near the head as you can.
Use the same directions as for the first double knot to form the knot.
Lacing the side of a lacrosse stick:
Poke the string through the third hole down on the left of the head:
Gripping the scorched tip of the side string, insert it into the opening beneath the spot where you started lacing the top string. When the knot is secure against the head, pull the string.
Push the string to the next mesh hole and through the third hole:
Through the first diamond in the mesh on the side towards the left side of the stick, pull the string back towards yourself. Re-enter the string through the stick's third side hole on the left side.
To secure the mesh to the side of the head, tightly pull on the string.
Feed the string through the mesh and into the 5th hole:
Pull the string loosely through the mesh's lower opening. To make a loop, give the string a little slack. Insert the string's end through the loop you made. On the side of the lacrosse head, push the string through the top of the fifth hole.
There's no need to skip a hole; just repeat this step in the next hole down.
Tighten the thread until the mesh diamond is pressed up against the head's side.
Skip a hole and repeat the steps directly above:
Don't skip a hole in between the knots this time when you're securing the mesh to the holes. Before tackling the next knot, make sure to pull each one firmly.*[4]
Thread the string through the mesh and into the side hole:
Insert your string into the top of the subsequent side hole by pushing it through the mesh. Until you get to the bottom of the head, keep doing this process.
Since this attachment forms your stick's pocket, it doesn't need to be as tight as your other knots.
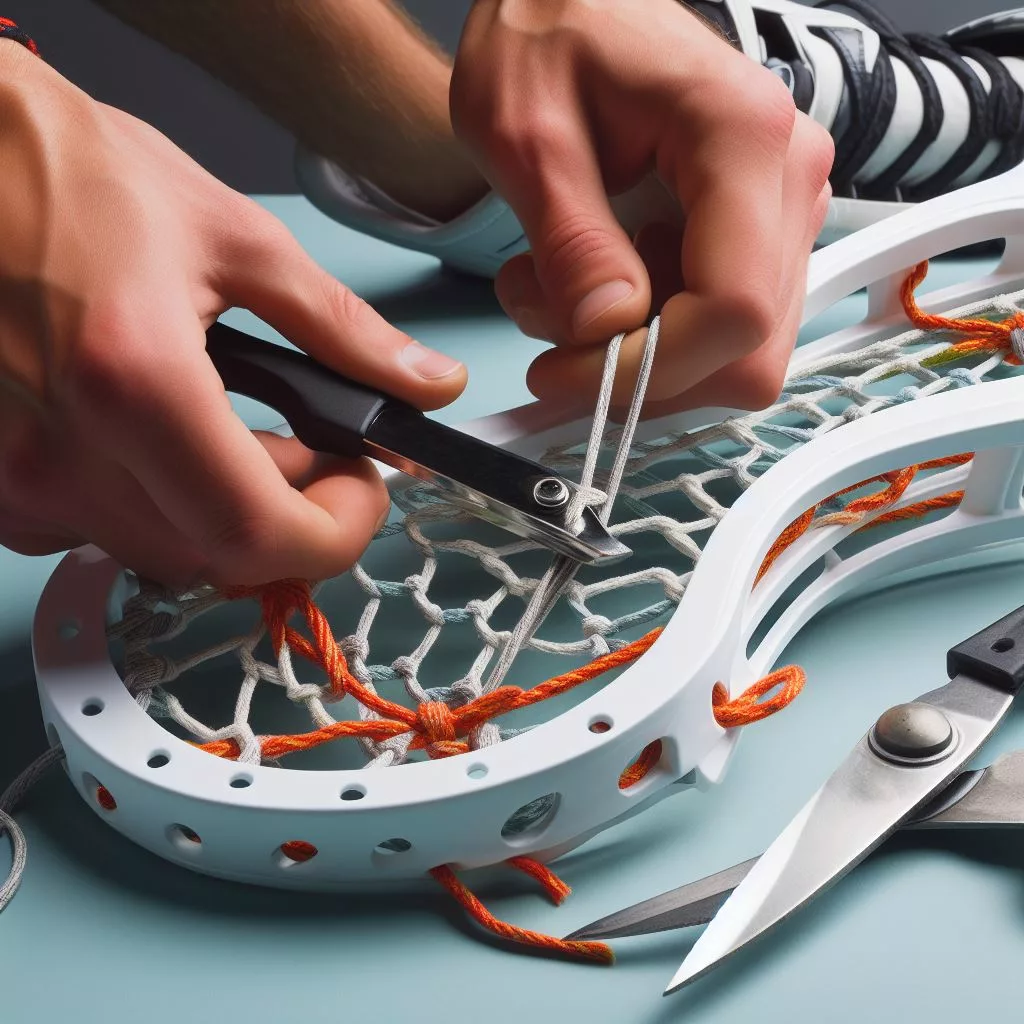
Secure the string with a double knot:
Closest possible to the head, tie a double knot on the string. Trim any extra string near the knot.
Stringing the bottom string of a lacrosse stick:
Knot one end of the string and place it through the bottom left hole:
Double knot the string at the other end from the burn tip. Pull the string taut by pushing it through the opening on the bottom left. (6)
Weave the string through the horizontal length of the width:
Weave the thread under, then over, the threads that comprise the mesh's bottom row. Proceed from the left side of the mesh row until you get to the end.
You must weave in between every mesh strand. If you discover that a strand has been missed, remove the bottom string and begin anew where the missed strand was. how to string a lacrosse head
Push the string bottom right hole:

Insert the thread through the upper opening on the stick's lower right hole. Till the rope becomes firm, pull it through. The mesh will be drawn into place as a result.
Experiment with the tightness of the String before knotting it:
The depth of your pocket will depend on how tight the bottom string is. To create a deeper pocket, pull a piece of rope measuring one centimeter (0.39 in) back towards the mesh to slightly loosen the string. Pull the string one cm (0.39 in) away from the head for a tighter fit.
Tie a double knot in the string as close to the stick as you can once you are satisfied with the string's firmness. (8)
Trim the strings' ends just in front of the knot.
FAQs: How to String a Lacrosse Head
Q1: Is stringing a lacrosse head difficult for beginners?
A1: Stringing a lacrosse head can be challenging for beginners, but with practice, patience, and the right guidance, it becomes easier. There are various tutorials and resources available to help newcomers learn the process.
Q2: What materials do I need to string a lacrosse head?
A2: To string a lacrosse head, you'll need mesh, shooting strings, sidewall strings, nylon strings, a lacrosse head, and a lacrosse shaft. Quality materials are essential for durability and optimal performance.
Q3: Can I customize the pocket of my lacrosse head based on my playing style?
A3: Yes, customizing the pocket is common among lacrosse players. By adjusting the tension and placement of strings, players can tailor the pocket to their playing style, whether they prefer quick releases, better ball control, or powerful shots.
Q4: How often should I rest my lacrosse head?
A4: The frequency of restringing depends on factors like playing frequency, weather conditions, and personal preference. Competitive players might rest their heads multiple times a season, while casual players might do it once a year or when the pocket loses its shape.
Q5: Can I use different types of mesh for my lacrosse head?
A5: Yes, there are various types of mesh available, each offering unique properties. Some players prefer soft mesh for a better ball feel, while others opt for hard mesh for consistency. The choice depends on personal preference and playing style.
Conclusions:
Stringing a lacrosse head is an art that combines technical skill with individual creativity. As this blog post has explored, the process involves understanding the different components, tensions, and techniques that suit your playing style best.
By delving into the intricacies of stringing, players not only enhance their understanding of the game but also gain a deeper connection with their equipment. It's a practice that fosters a sense of craftsmanship and ownership, allowing players to fine-tune their sticks to match their unique strengths and preferences.
Whether you're a beginner learning the basics or an experienced player refining your skills, mastering the art of stringing a lacrosse head is a valuable journey. With the right knowledge and practice, players can transform their sticks into extensions of their playing style, ultimately enhancing their performance on the field. Happy stringing!